Manage Projects
This guide shows you how to manage Data Catalog Projects to keep research data structured and accessible. After a project is created, you can either edit its details, archive it, or manage user permissions to control access and collaboration.
➤ Follow the steps below based on the action you want to perform.
Step 1: Find the Project
Use the search bar in the top navigation to find your project. Just type the project name and, if needed, add filters to refine your search results.
Step 2: Choose an Action
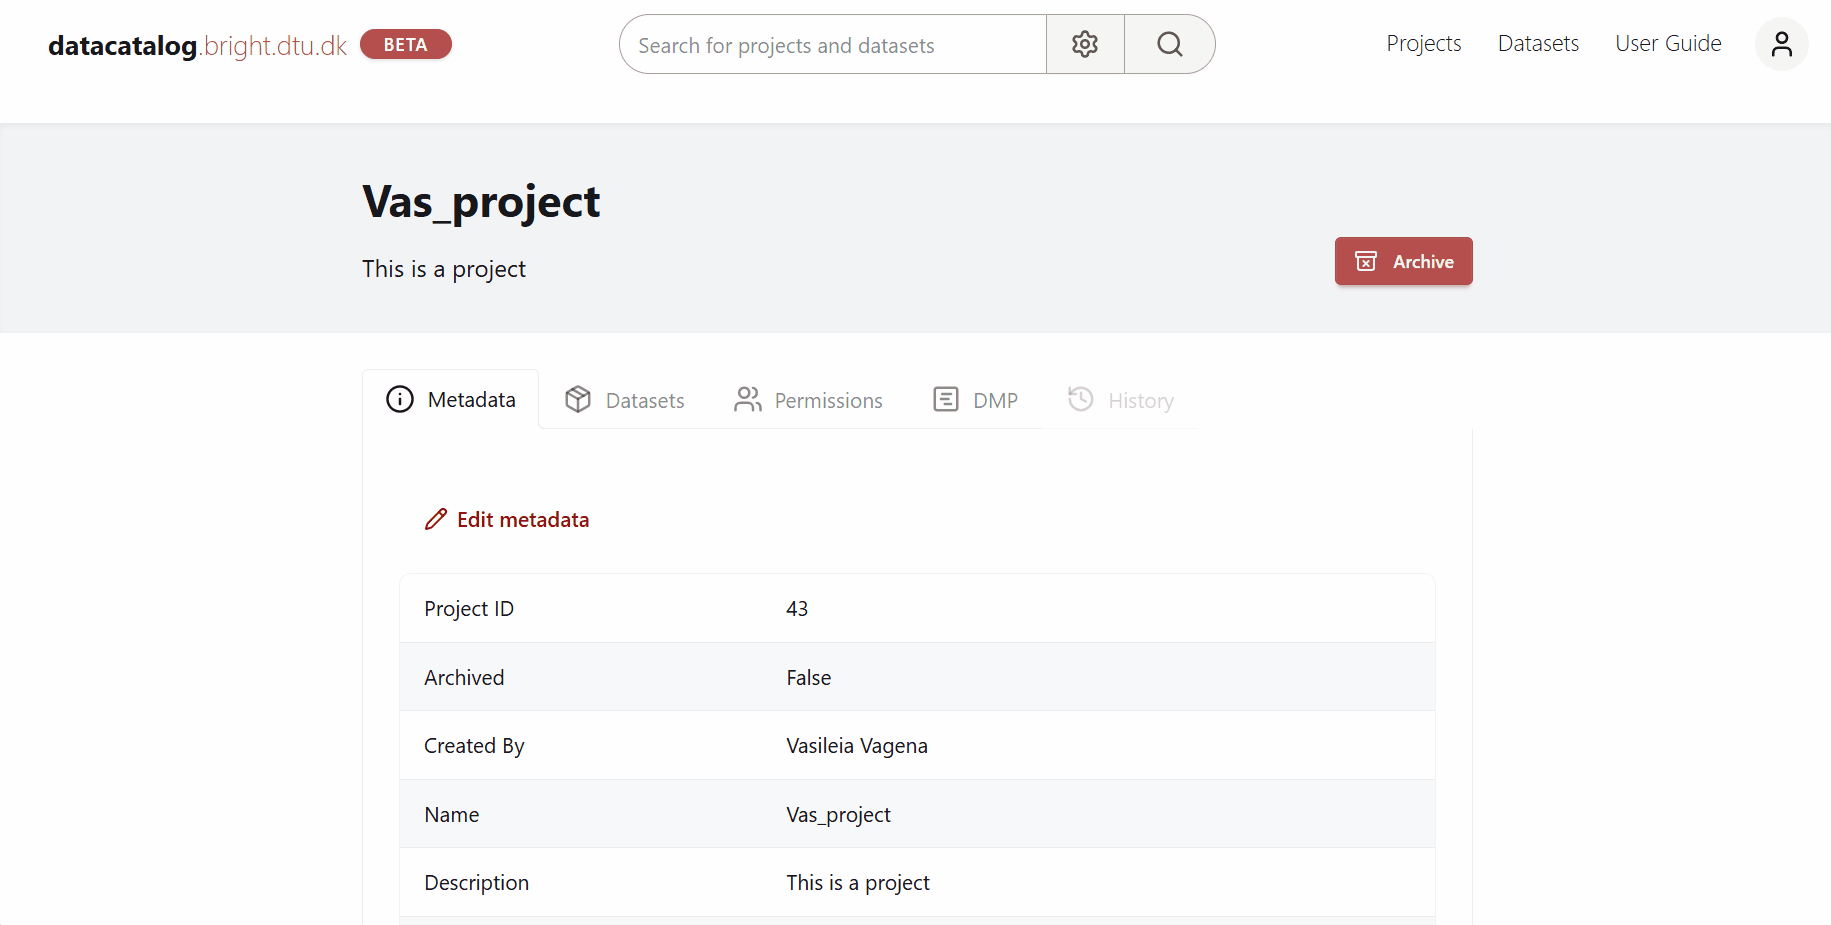
On the Project home page, click on the Metadata tab, where you will find two action buttons:
Click
Edit metadata, located right above the list of project metadata, to update project detailsor
Click
Archive, located on the top-right corner of the page, to archive the project
Step 3: Confirm
➤ If you choose to Edit metadata:
After making the necessary updates, click:
Save to apply your changes
or
Cancel to discard them
➤ If you choose to Archive:
A confirmation box will appear asking you to confirm the action.
Manage Projects
Note
Archived projects remain visible under the Archived section on the Project List page. You can open and view them, but they cannot be edited unless you first click the Restore button on the Project Home page.
Manage Projects User Permissions
As the project creator, you have full control over the project, including its datasets and user access. You can add users and assign permissions through the Permissions tab on the project home page.
How the permissions Tab Works
The tab displays a table view with:
User column: Lists all users. Your name appears at the top, followed by any additional users you add.
Permissions columns: Show the available permissions:
Can Read: Allows the user to view the project’s metadata and associated datasets (view‑only)
Can Edit Permissions: Allows managing user access and permissions
Can Edit Metadata: Allows editing project details
Can Add Datasets: Allows adding datasets to the project, either by creating new or adding (and removing) existing ones (see also: Add Datasets to Project)
Can Archive: Allows archiving the project
Can Setup Workspaces: Allows running analysis pipelines on dataset’s files
Actions column: Includes the available actions:
Save Policy: Saves changes when adding a new user
Remove Policy: Revokes a user’s access
Adding or Removing Users
To add a new user, click
Add user policy, enter their details (first name and last name), select the permissions you want to grant, and click the icon to save your user policy.
To remove a user policy, click the
 icon in the action column.
Project Permissions
Tip
To grant or remove permissions for a user, simply click or unclick the options available. Changes apply immediately.
API Availability
The actions described above can also be performed programmatically using our FastAPI. For more details, see the following endpoints in our API Reference: