Execute Analytics Workflows
⚠️
This guide is intended for the Analytics team.
🎯 This guide will show you how to execute Workflows submitted by researchers at BRIGHT.
What is a Benchling Workflow?
A Benchling Workflow contains:
details of the samples to be analysed
details of the analysis to be performed
details of who submitted the Workflow (the client)
Researchers can choose between the following Workflows:
GC-MS analysis
Proteomics
Targeted Metabolomics
Untargeted Metabolomics
📩 Check your inbox for new submission by researchers
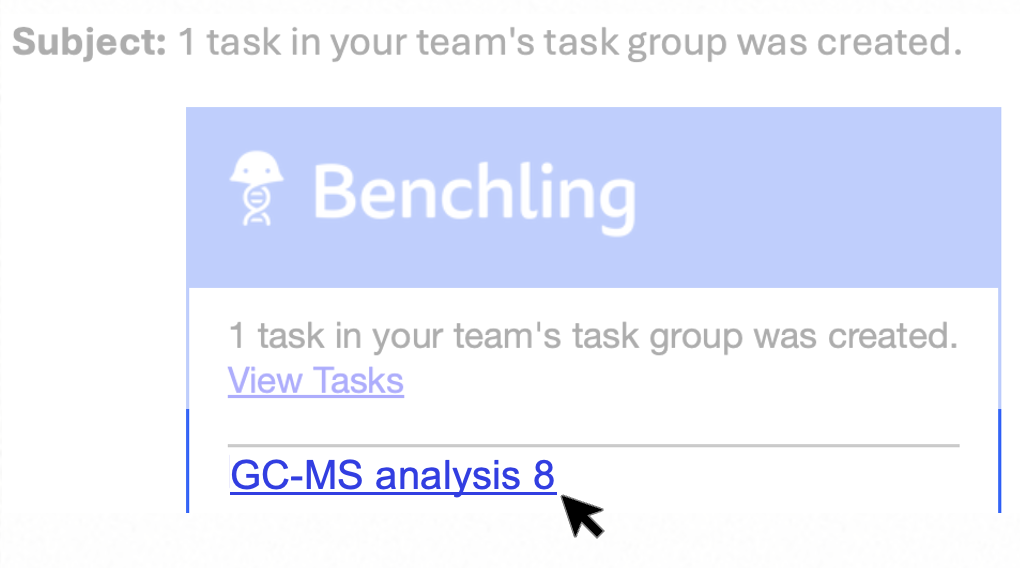
As an Analyst, you will receive an email notification once a new Workflow is created by a researcher (you will receive notifications only for the Workflow you are responsible for).
Access the submitted Workflow
Click on the link provided in the email. Example:
Before the analysis
📄 Download samples list
In order to download the full list of samples and the relative details (including sample position e.g., A1, A2,…), access the Sample List dashboard and download the list as .csv file.
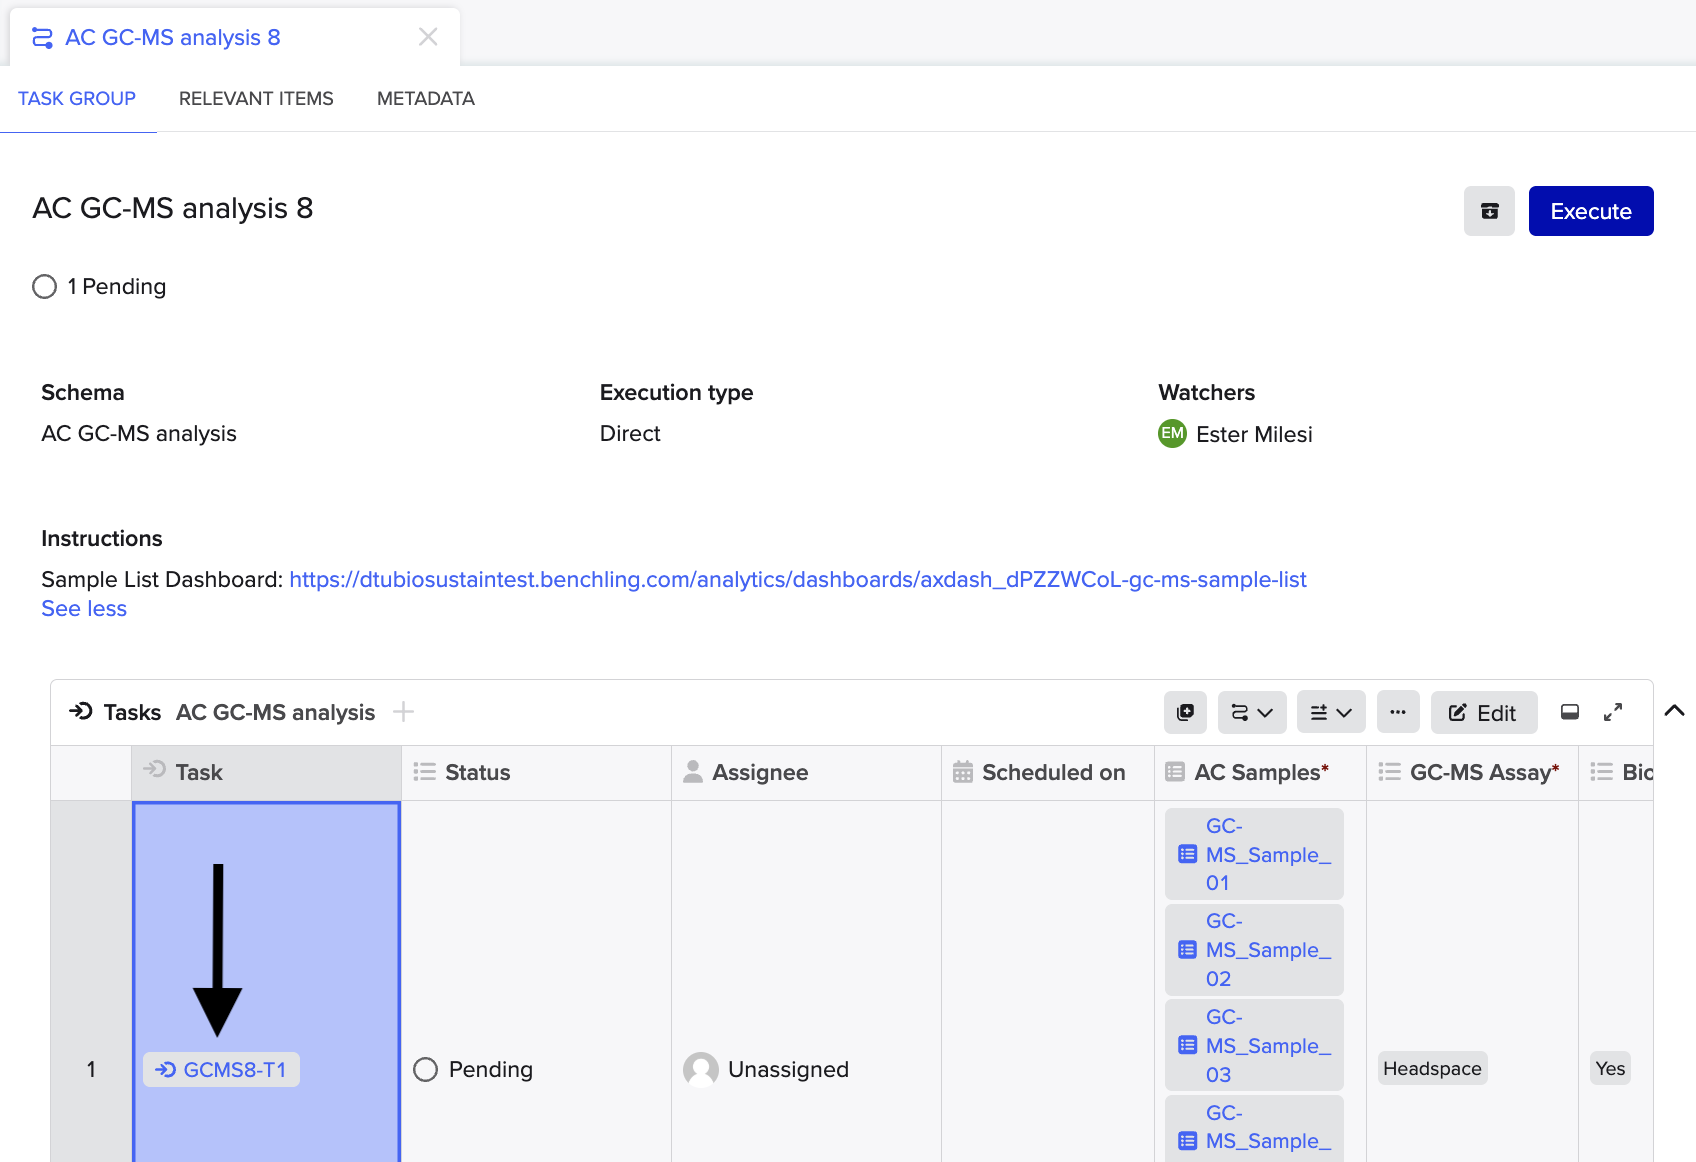
Copy the Workflow ID
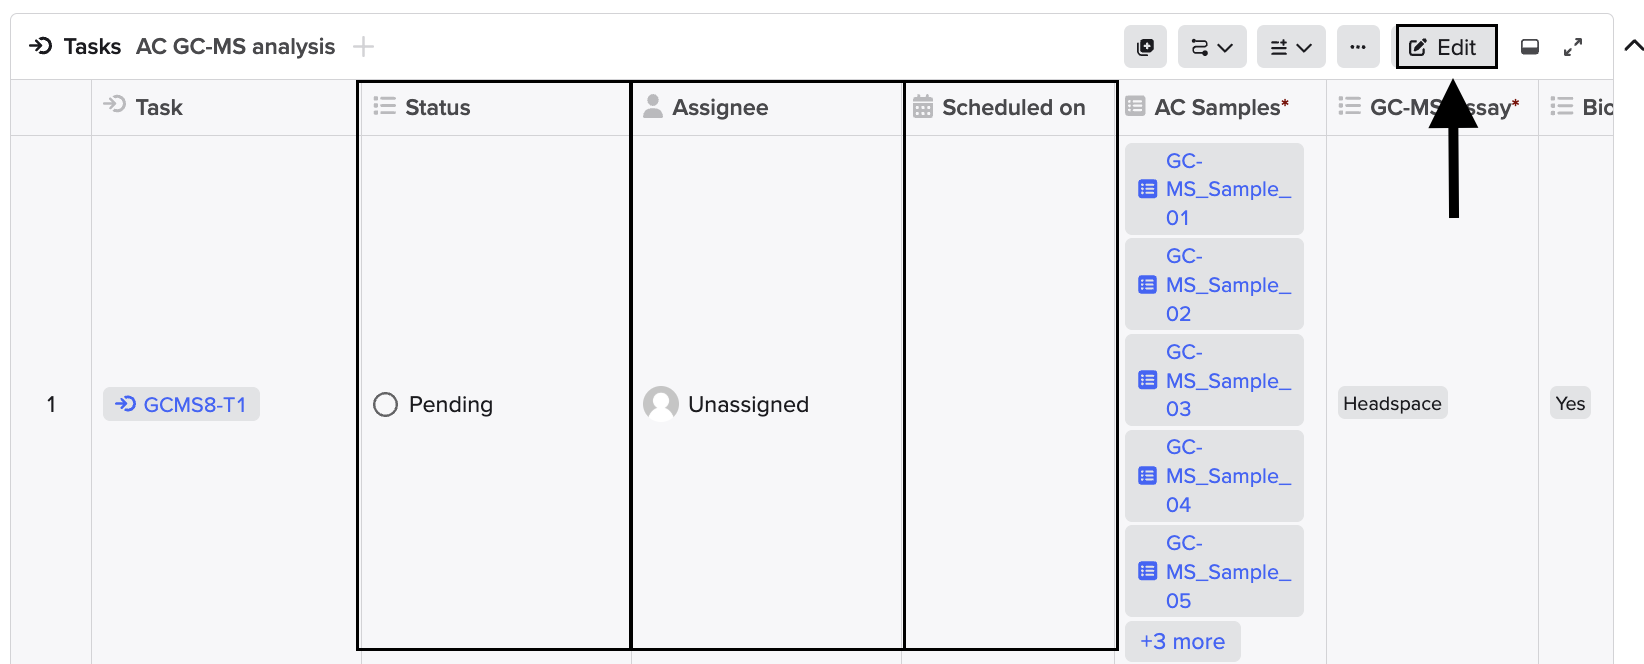
Copy the Workflow ID from the Task table (in the following example image, the Workflow ID is GCMS8-T1)
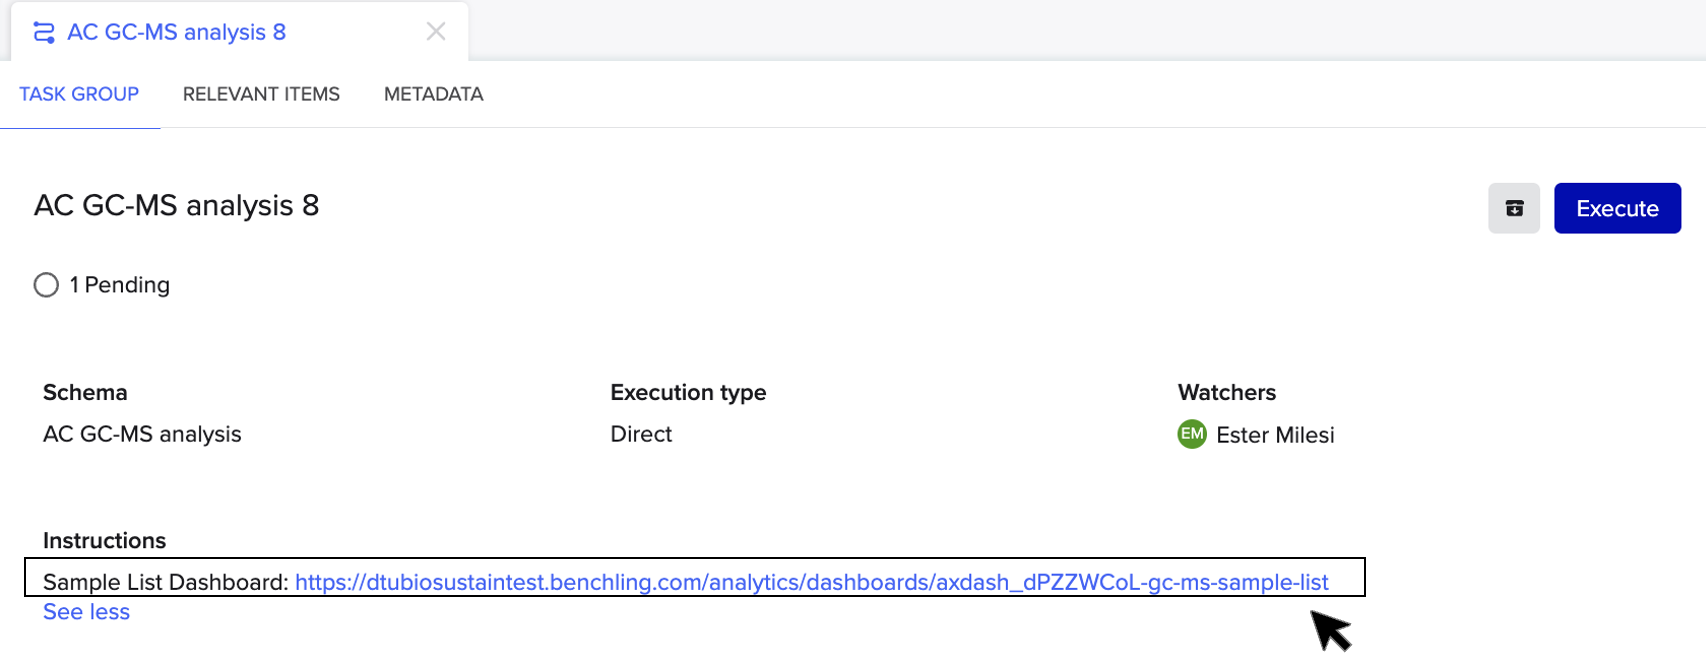
Access the Sample List dashboard
Click on the link included under the “Instruction” field to access the Sample List Dashboard:
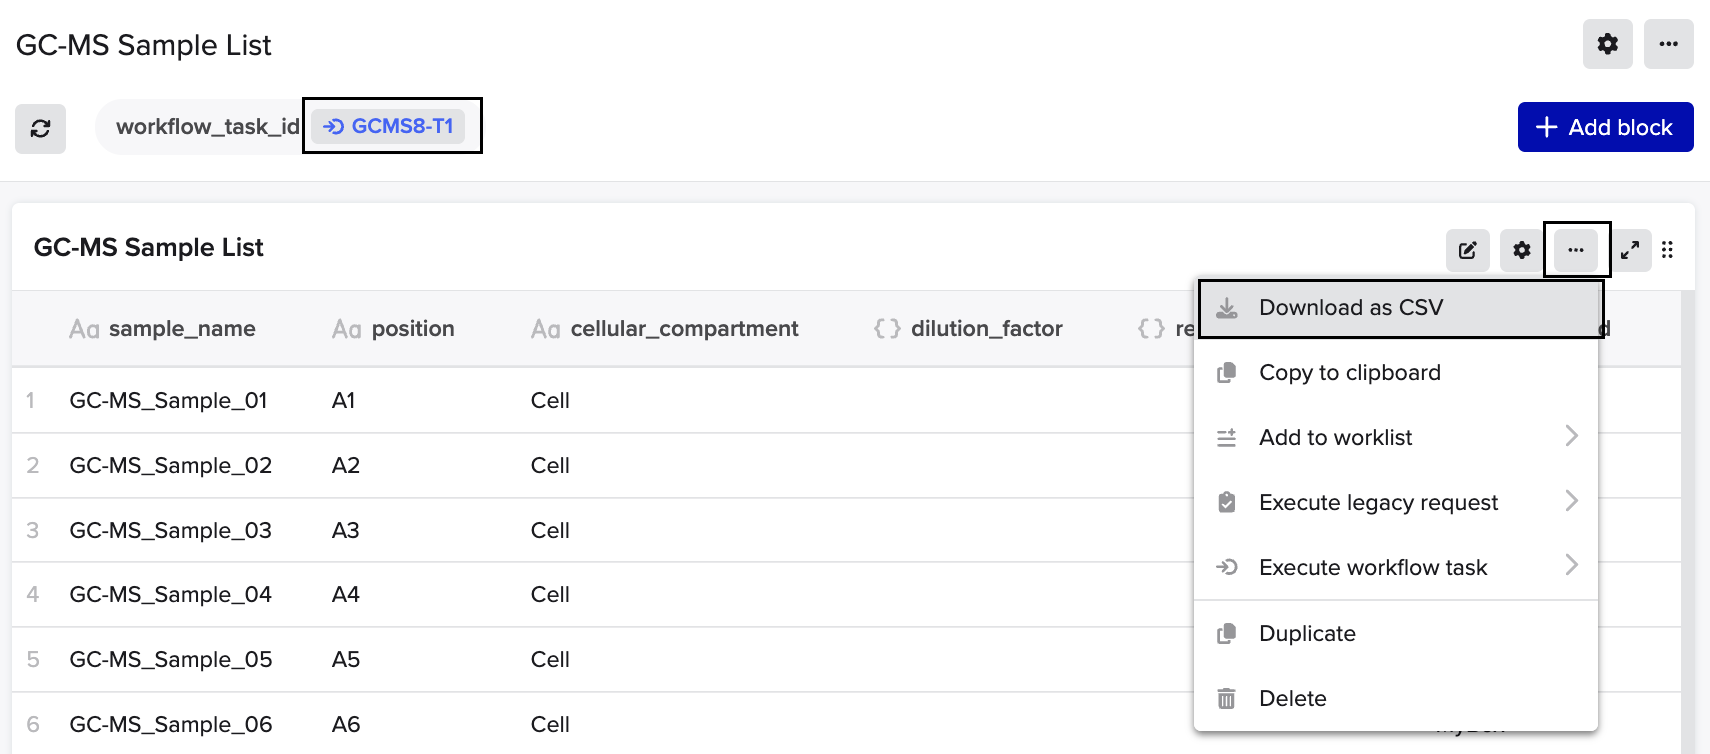
Paste the Workflow ID
Paste the Workflow ID to configure the workflow_task_id parameter, click the “more options” icon […] and select “Download as .csv:
📆 Update the Workflow status to “Planned”
When you are about to start the analysis, you can update the Workflow status to “PLANNED” to let the researcher know you are on it.
We suggest to use the status “Planned” instead of “In progress” because this enables for a more straightforward execution of the workflow later-on.
To udpate the status, go the the “Tasks” table (where the details of the submissions are), click “Edit”, and edit the “Status” column. Now click “Submit” to save the edit.
In the same table, you can also set yourself as “Assignee” of the analysis, and set a date for when the results will be available to the researcher by editing the “Scheduled on” column.
After the analysis
Attach the results
When you are done with the analysis and you produced results, you are ready to execute the Workflow.
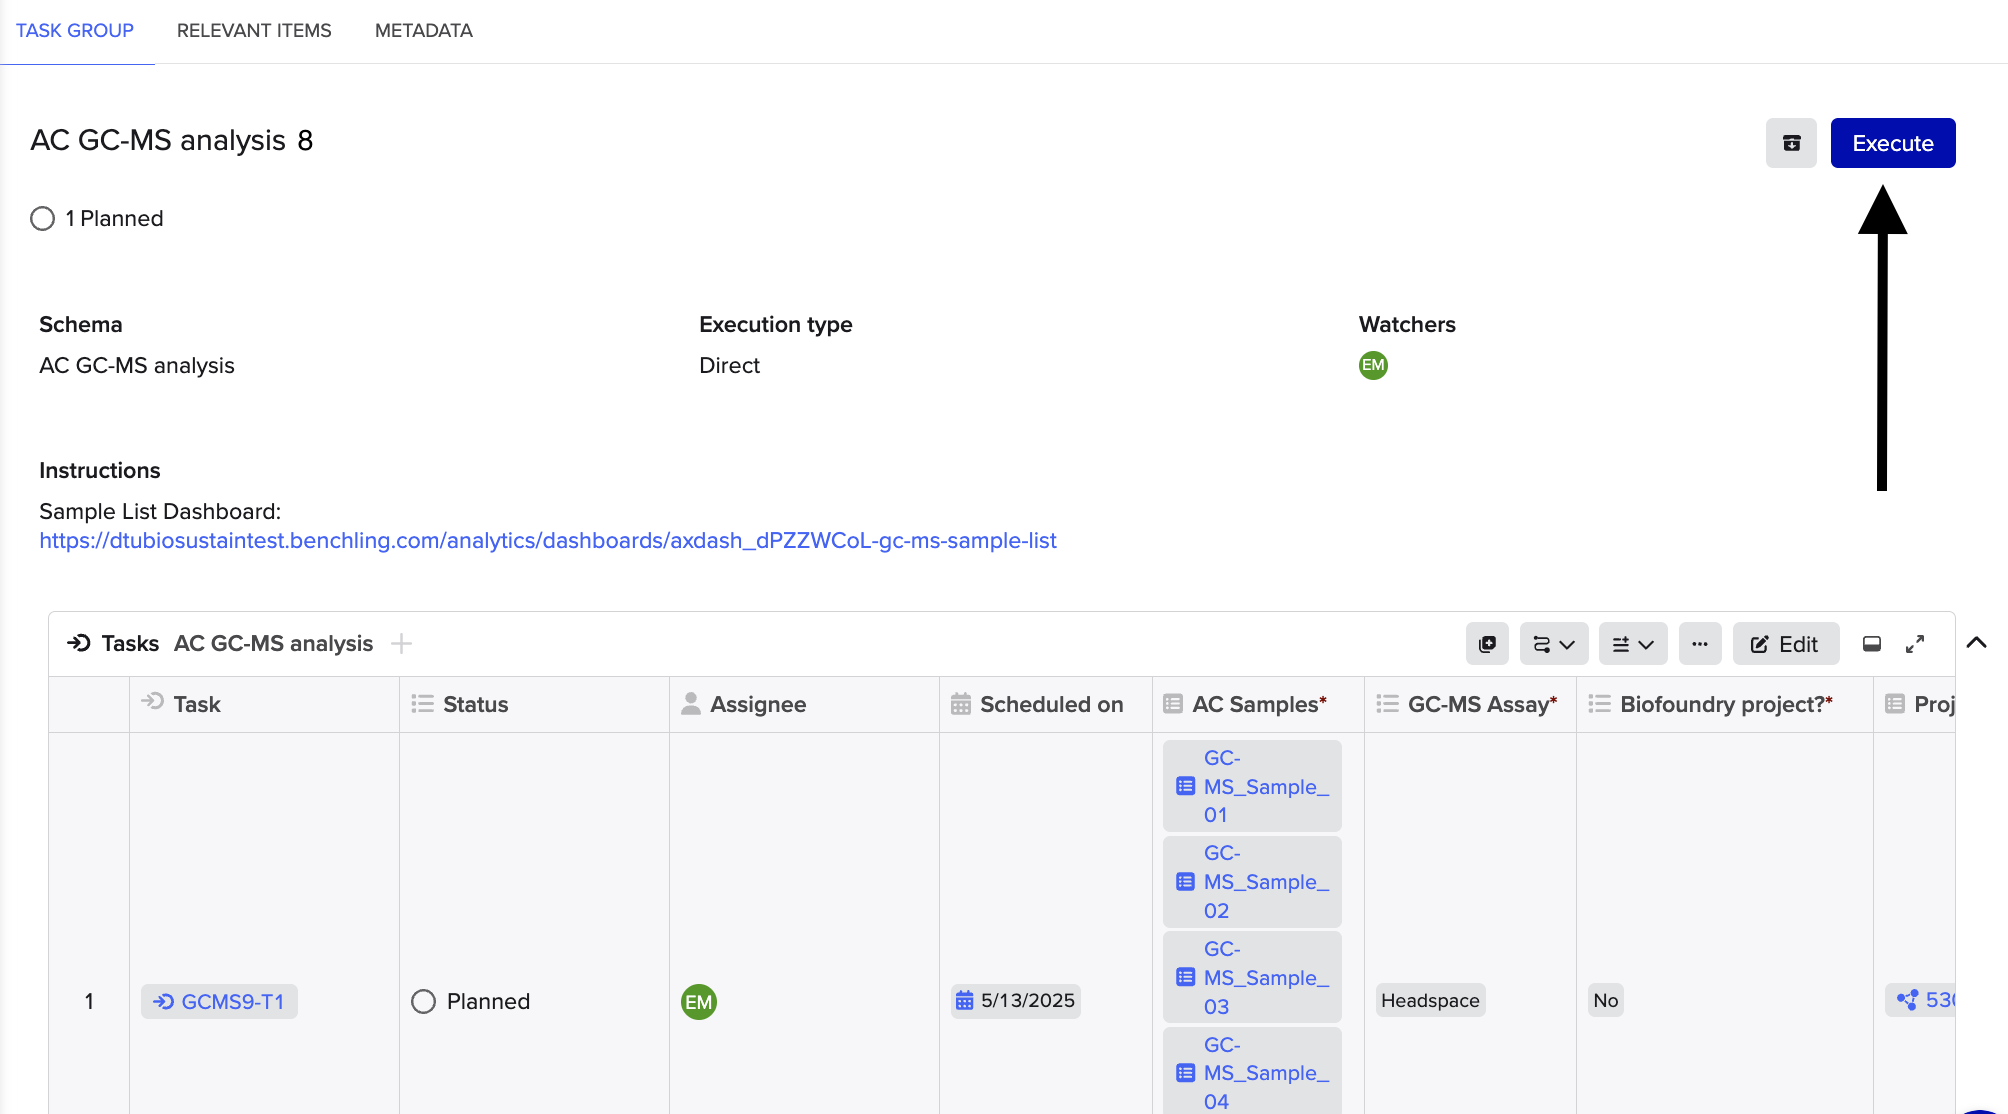
Execute the Workflow
To execute the workflow, click on the “Execute” blue icon.
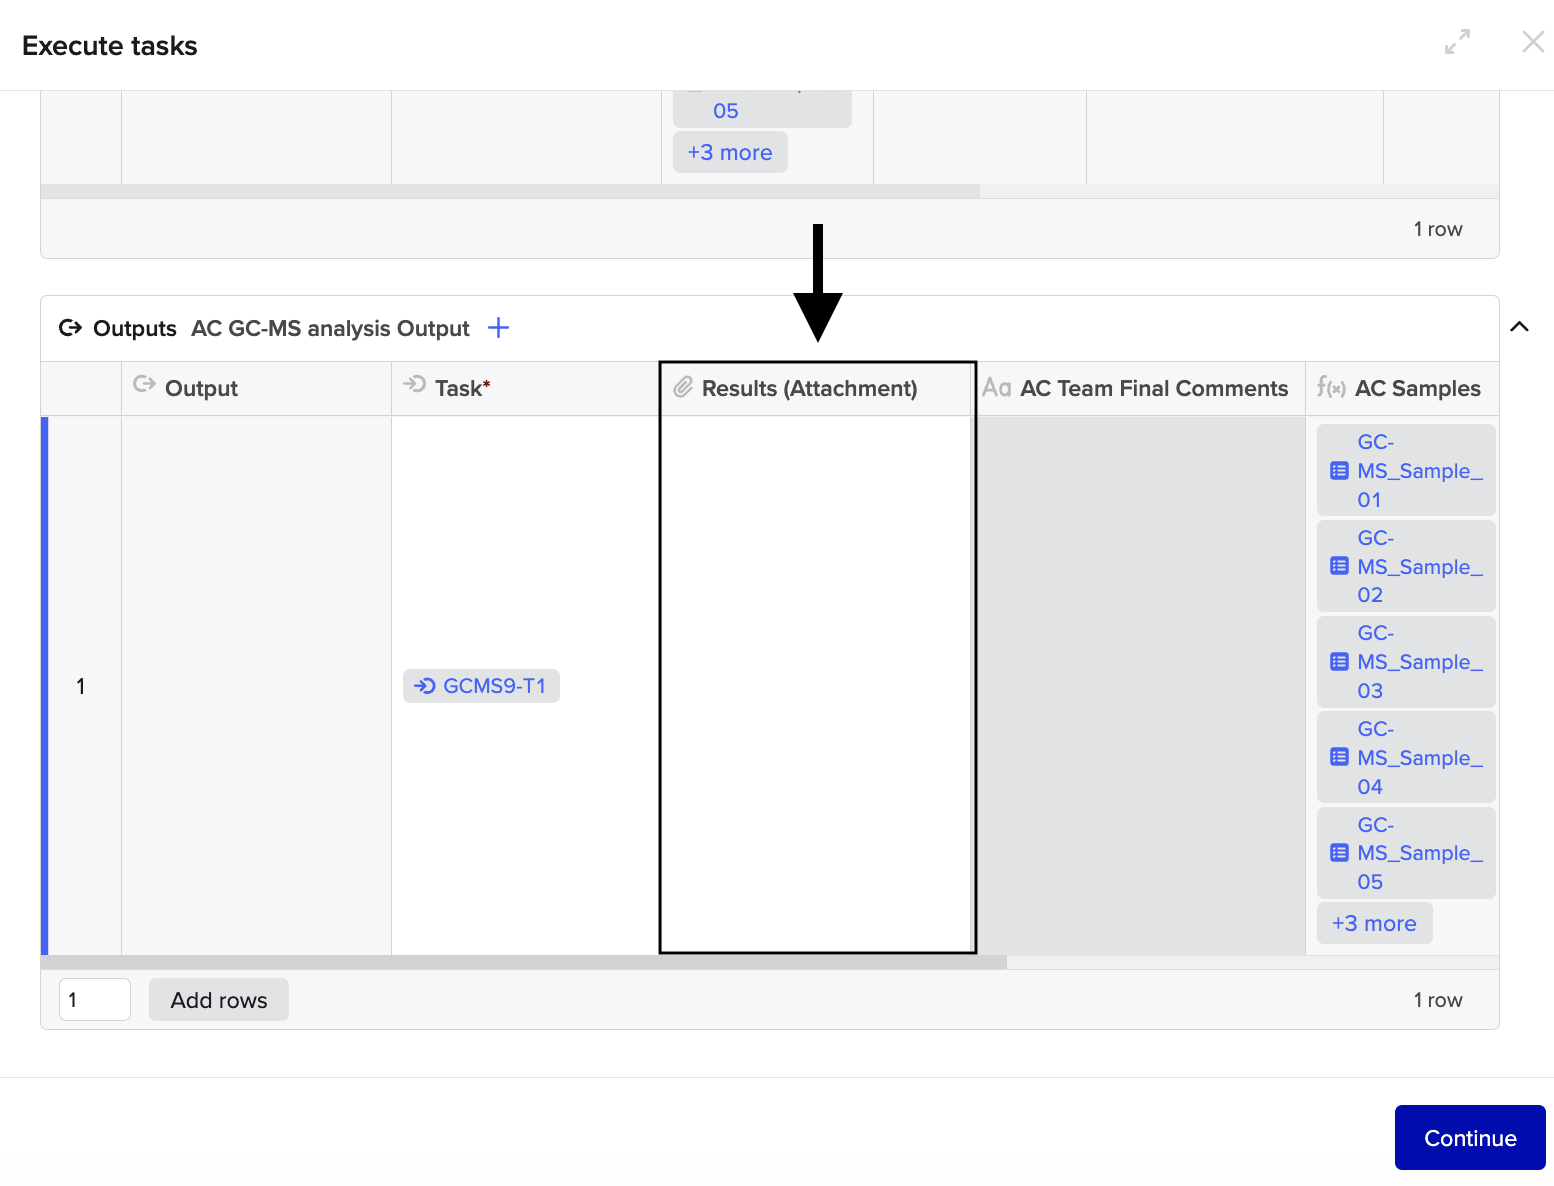
Add the file as attachment
In the pop-up windown that showed up after clicking “Execute”, scroll directly to the Output table at the botton, and attach the result file by double clicking on the “Result (Attachment)” column.
After attaching the file, click on “Continue”.
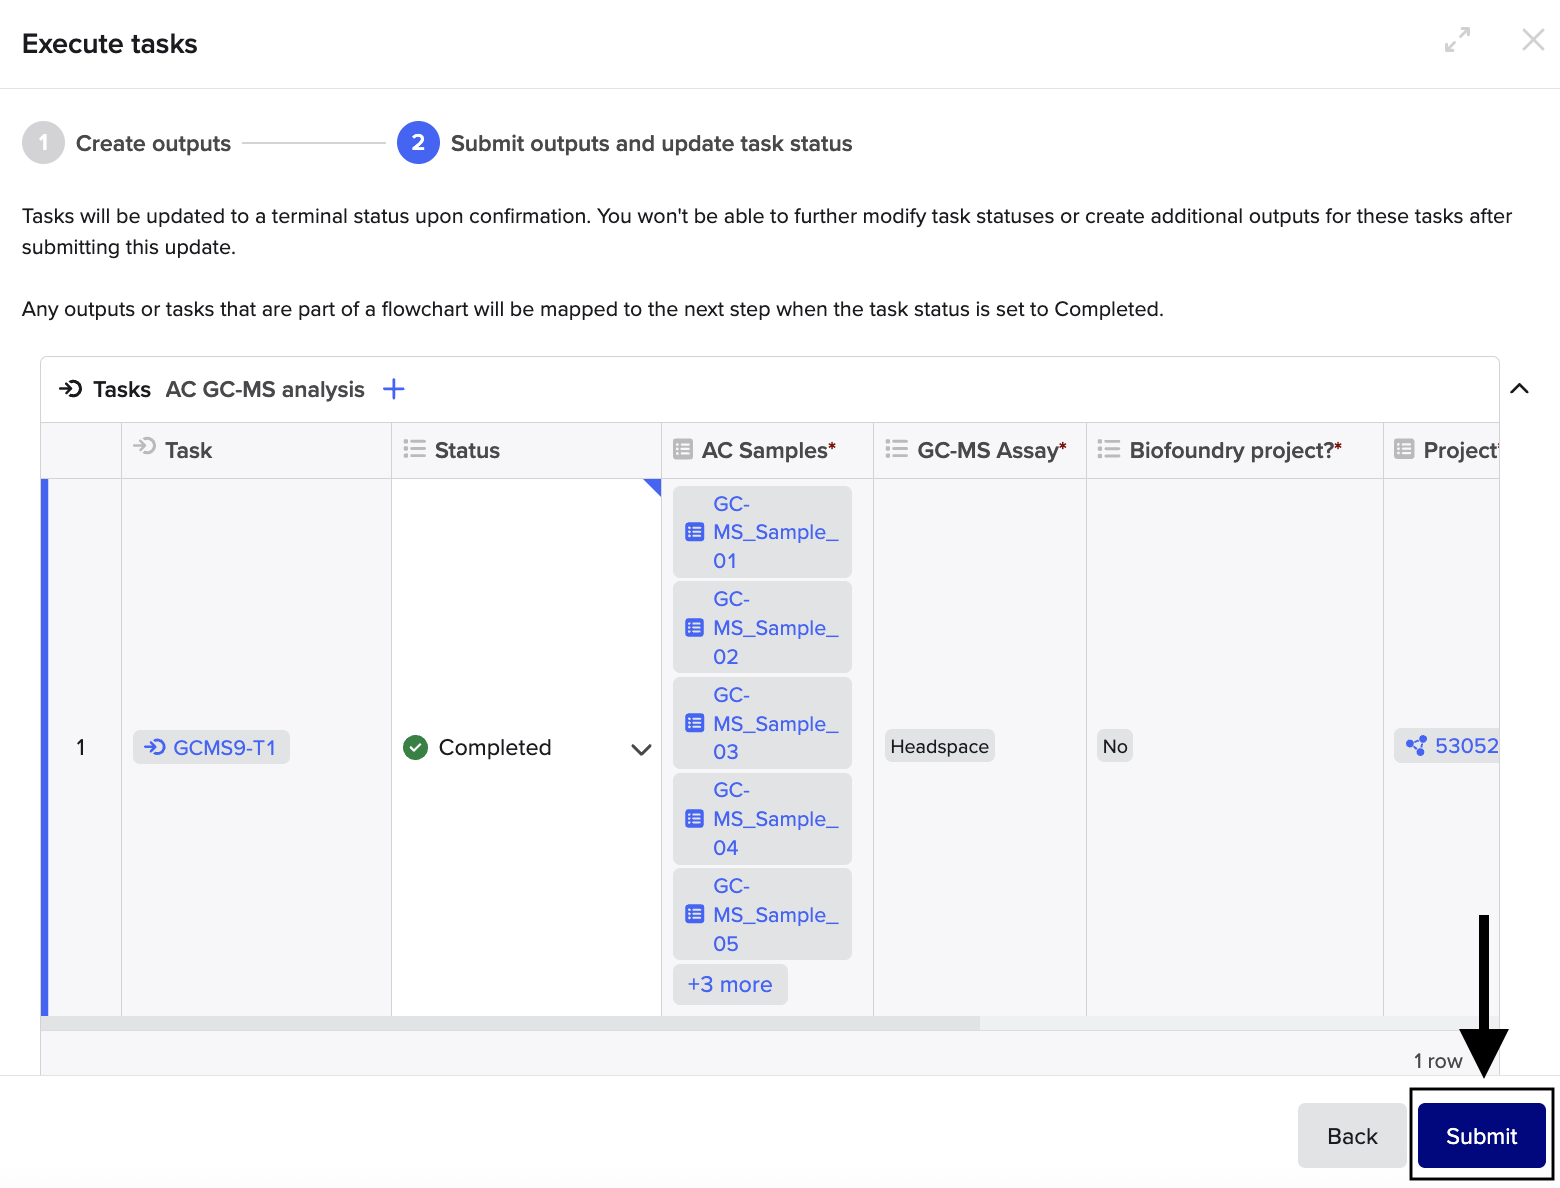
Submit
At this stage, you will be able to review all the details of the Workflows (Task + Output tables) and see if everything is correct.
If everything looks correct, click on “Submit”.
The researcher will now receive a notification that the analyis is completed and the results are ready to be accessed in Benchling.
Troubleshooting
Why I cannot click on the “Execute” icon?
Check the status of the Workflow. If the status is different from “pending” or “planned”, you will not be able to execute the Workflow. You will need to manually “Edit” the status of the Workflow in the “Tasks” table, and manually “Edit” the “Output” table and attaching the result file. Remember to click “Submit” to save the edits.
Which type of results can be attached?
The implementation doesn’t currently allow to attach raw data. Only use the “Result (Attachment)” for pre-processed data. You can send raw data by email to the researcher.
How can I allow another person to receive notifications when a new Workflow is created?
Benchling Teams were created for each Workflow type to manage notifications. Go to the dedicated Benchling Team (it is named after the analysis type) and add the new person. If you don’t know how to do it, contact lims_support@bright.dtu.dk.
If you have any question, don’t hesitate to contact us at lims_support@bright.dtu.dk.