Execute PPP Workflow
⚠️
This guide is intended for the Pre-Pilot Plant team.
🎯 This guide will show you how to execute Workflows submitted by researchers (or yourself) at BRIGHT. Follow this guide if you need to create a Workflow instead.
What is a Benchling Workflow?
A Benchling Workflow contains:
details of the samples to be analysed
details of the analysis to be performed
details of who submitted the Workflow
The submitter can choose between different assays. If you want a new assay to be added to the options, contact LIMS support.
📩 Check your inbox for new submission
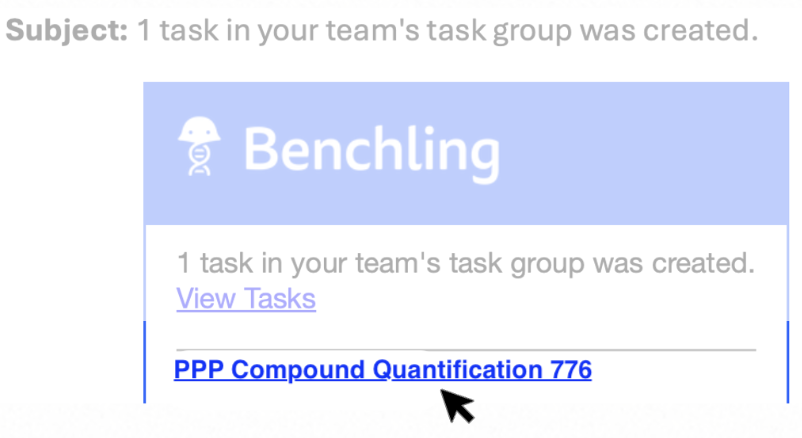
As an Analyst, you will receive an email notification once a new Workflow is created by a researcher (you will receive notifications only for the Workflow you are responsible for).
Access the submitted Workflow
Click on the link provided in the email. Example:
Before the analysis
📄 Download samples list
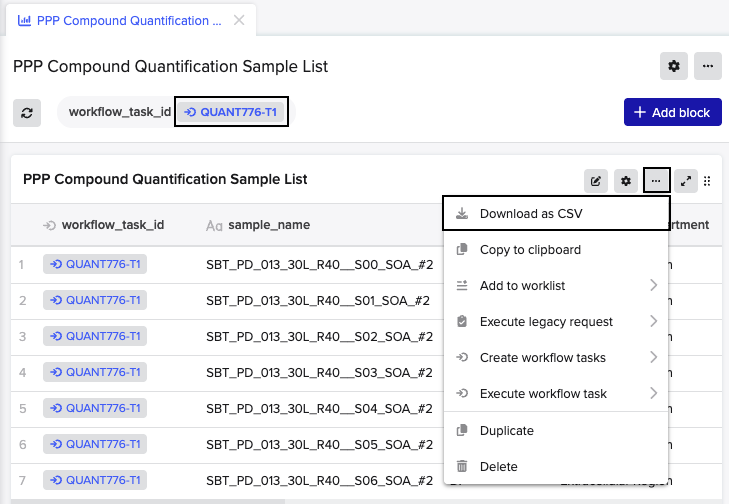
If you need to download the full list of samples and the relative details (including sample position e.g., A1, A2,…), access the Sample List dashboard and download the list as .csv file.
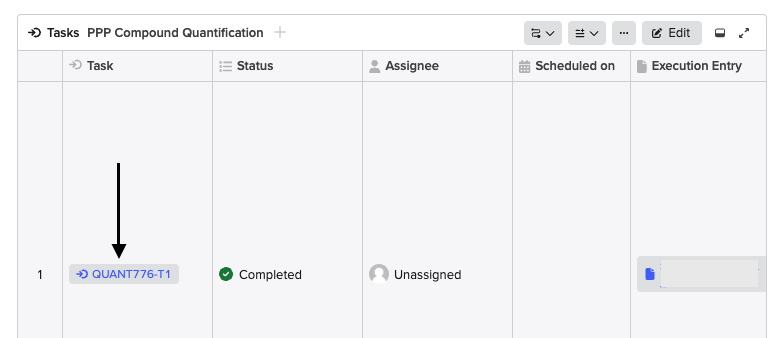
Copy the Workflow ID
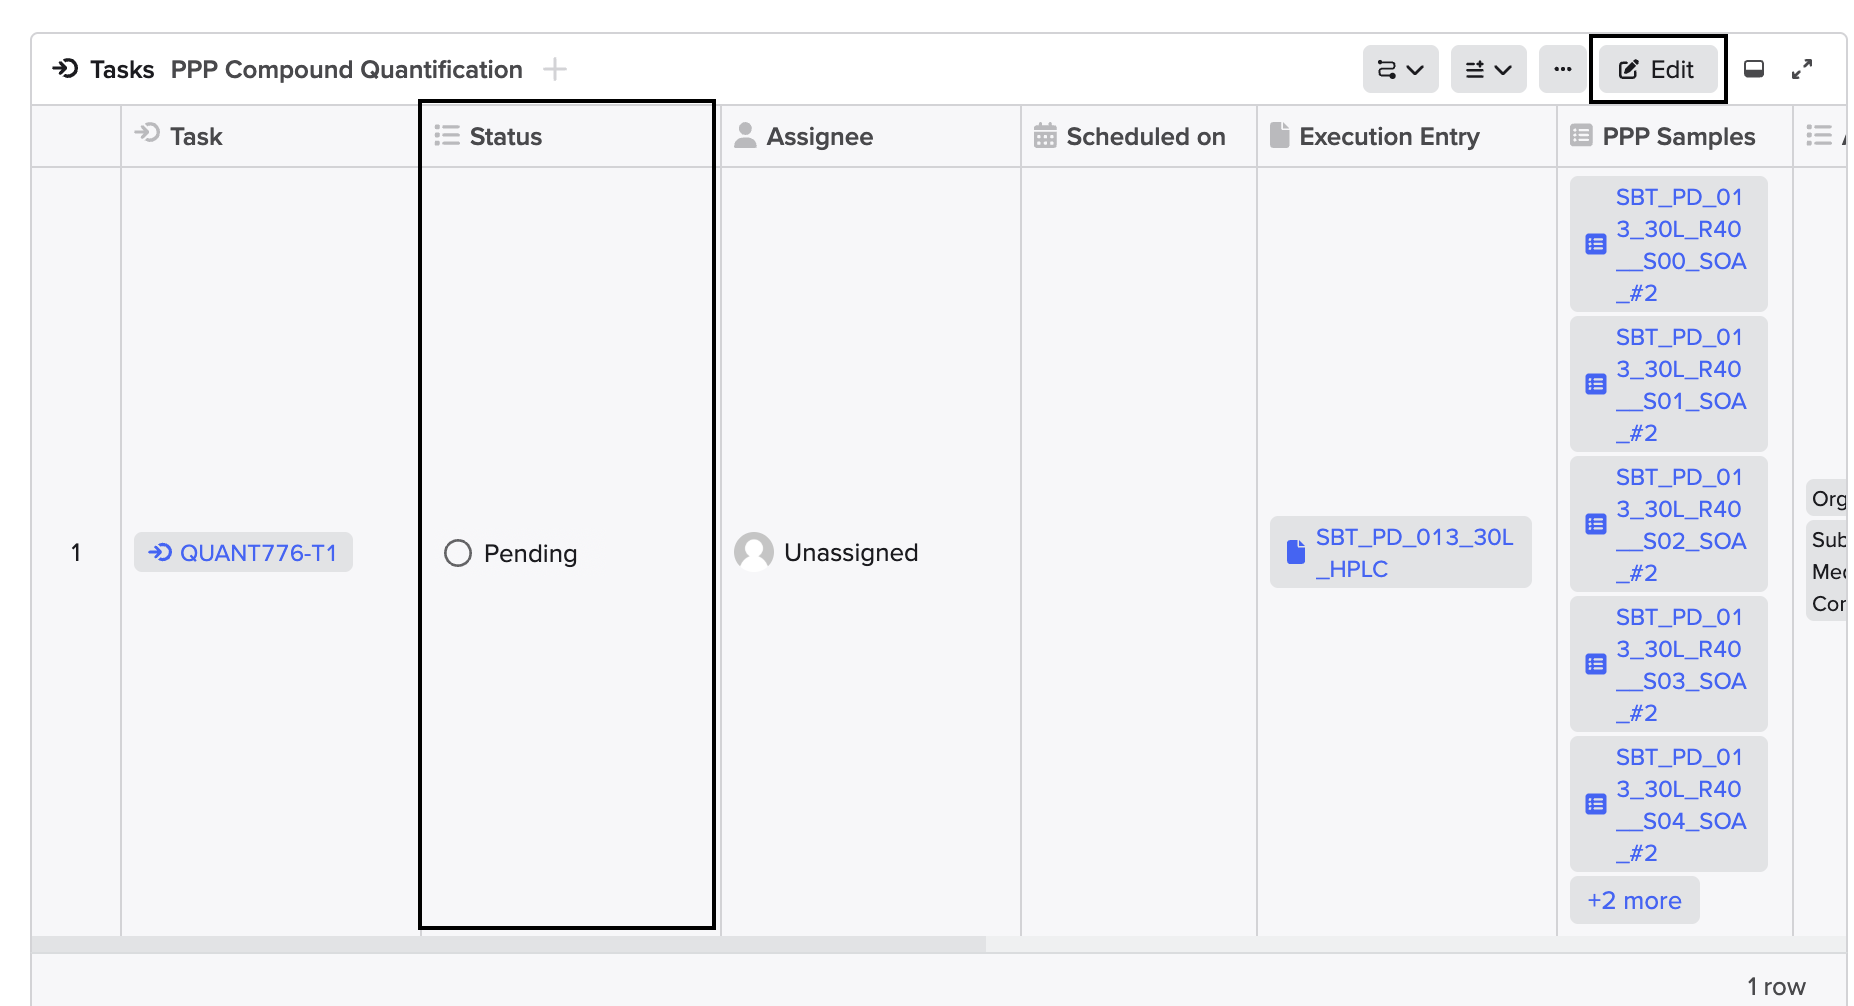
Copy the Workflow ID from the Task table (in the following example image, the Workflow ID is QUANT776-T1)
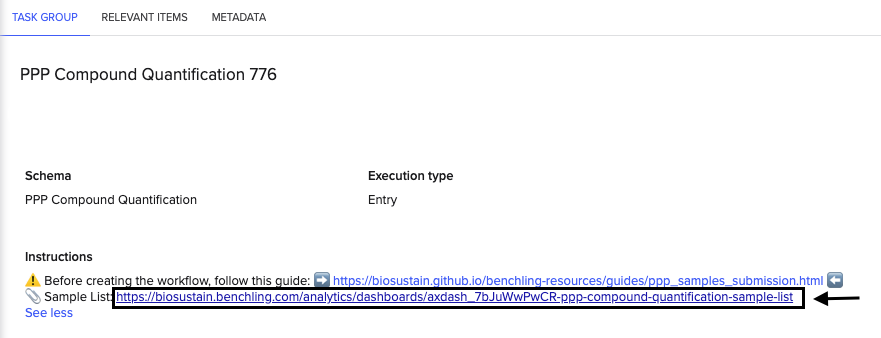
Access the Sample List dashboard
Click on the link included under the “Instruction” field to access the Sample List Dashboard:
Paste the Workflow ID
Paste the Workflow ID to configure the workflow_task_id parameter, click the “more options” icon […] and select “Download as .csv:
📆 Update the Workflow status to “Planned”
When you are about to start the analysis, you can update the Workflow status to “PLANNED” to let the researcher know you are on it.
We suggest to use the status “Planned” instead of “In progress” because this enables for a more straightforward execution of the workflow later-on.
To udpate the status, go the the “Tasks” table (where the details of the submissions are), click “Edit”, and edit the “Status” column. Now click “Submit” to save the edit.
After the analysis
Execute the Workflow
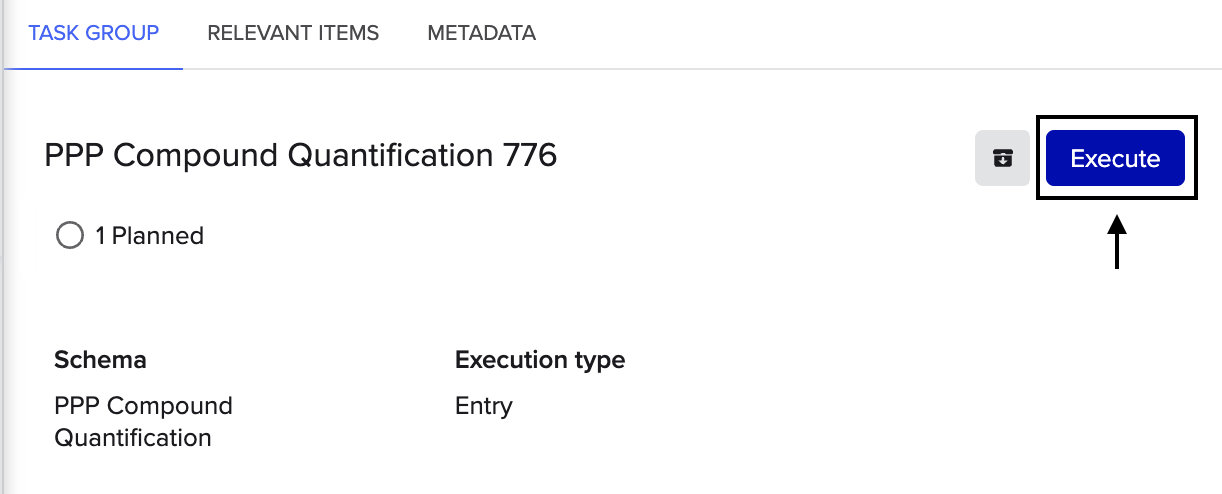
When you are done with the analysis and you produced results, you are ready to execute the Workflow.
To execute the workflow, click on the “Execute” blue icon.
Create new Execution Entry
In the pop-up windown that showed up click “Execute” again, and a new Notebook Entry (from Template) will be automatically created. Follow the steps in the Notebook Entry to upload the data using LIMS extension.
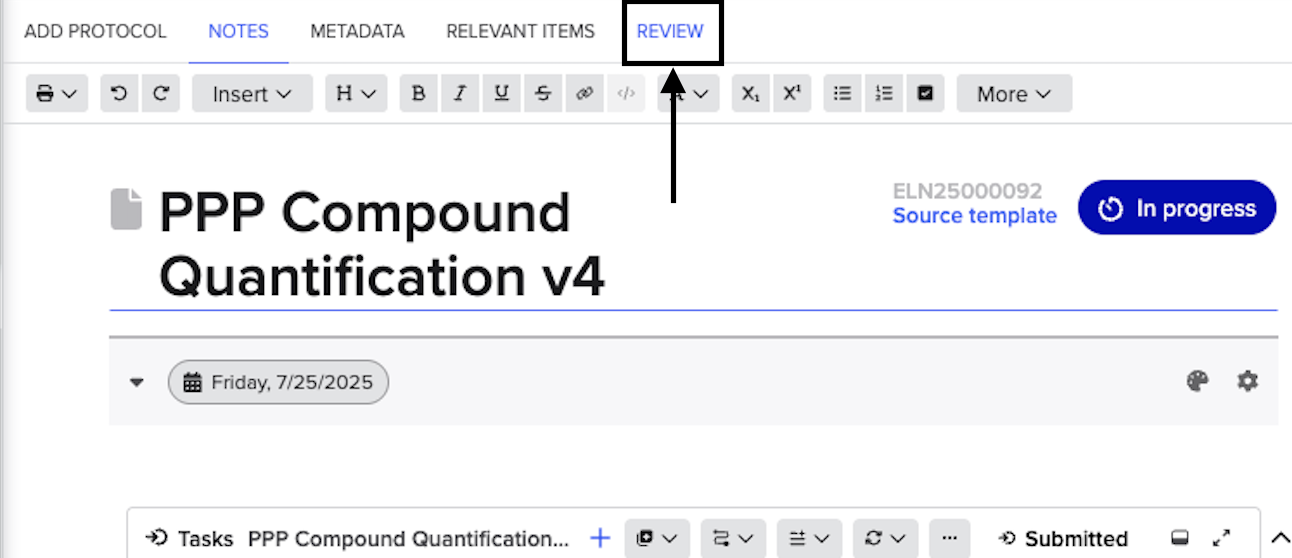
Send the Entry for Review
After adding the data using LIMS extension “Analytical Chemistry Compound Quantification”, you can finally send the Notebook Entry for Review. This will enable the data to be downloaded in the LIMS exension “Fermentation reports > Export”.
Accepting the Review will automatically change the status of the Workflow task to “Completed”.
The submitter will now receive a notification that the analyis is completed and the results are ready to be downloaded in Benchling (or LIMS extensions “Fermentation reports > Export”).
Troubleshooting
Why I cannot accept the Notebook Entry during the review process?
In order to being able to accept the Notebook Entry in the review process, you need to have the status of “Auditor” in the Project folder in which the Notebook Entry is saved. Learn how to add auditors in the project here.
If you have any question, don’t hesitate to contact us at lims_support@bright.dtu.dk.