Understand the Registry
🎯 This guide will help you understand how to use the Benchling Registry according to your needs.
Why use the Registry?
Using the Registry might seem like a daunting task, but it is quite flexible, and it comes with many benefits, including:
the ability to assign distinct data types to samples, containers, and results, ensuring that data is easy to find and interpret
the possibility of standardizing metadata fields across the organization, so data types like plasmids or strains have consistent and uniform metadata.
Registering your experimental data in the Benchling Registry is a big step towards its standardization and its long-term findability (by you and other colleagues).
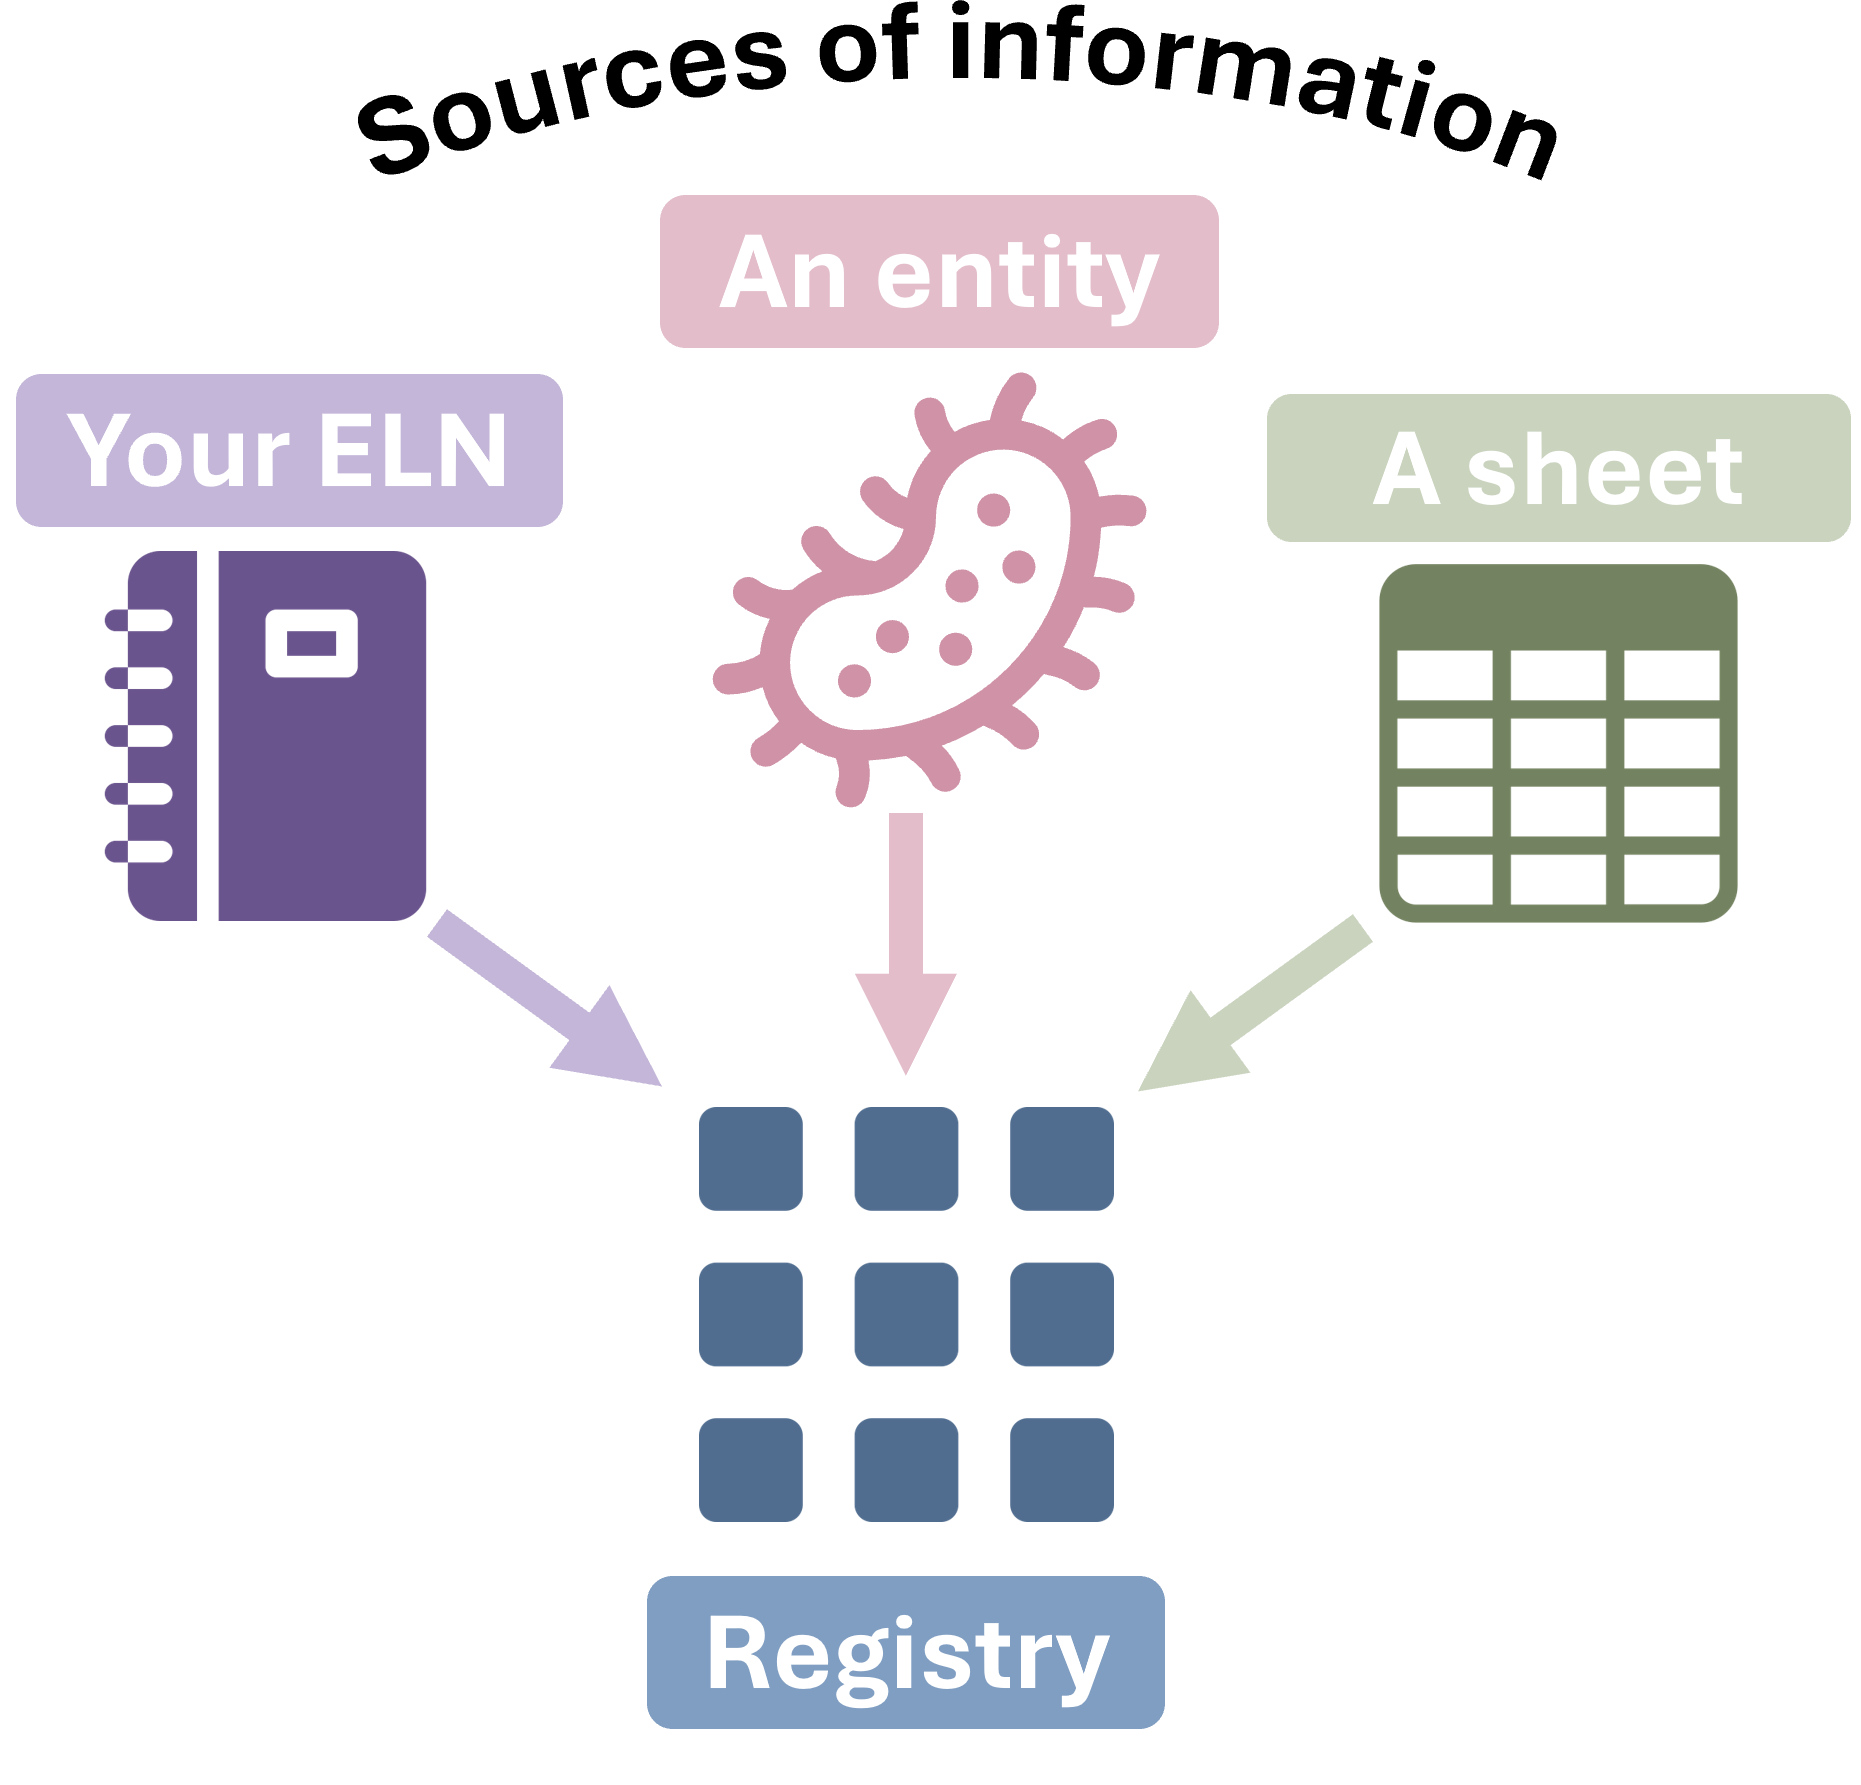
You might have already recorded your experimental data in your Electronic Notebook, in sequence files (for example, in the case of plasmids) and/or in spreadsheets. All of these can be standardized and added to the Registry.

Sources of information for the Registry
Choose a registration method
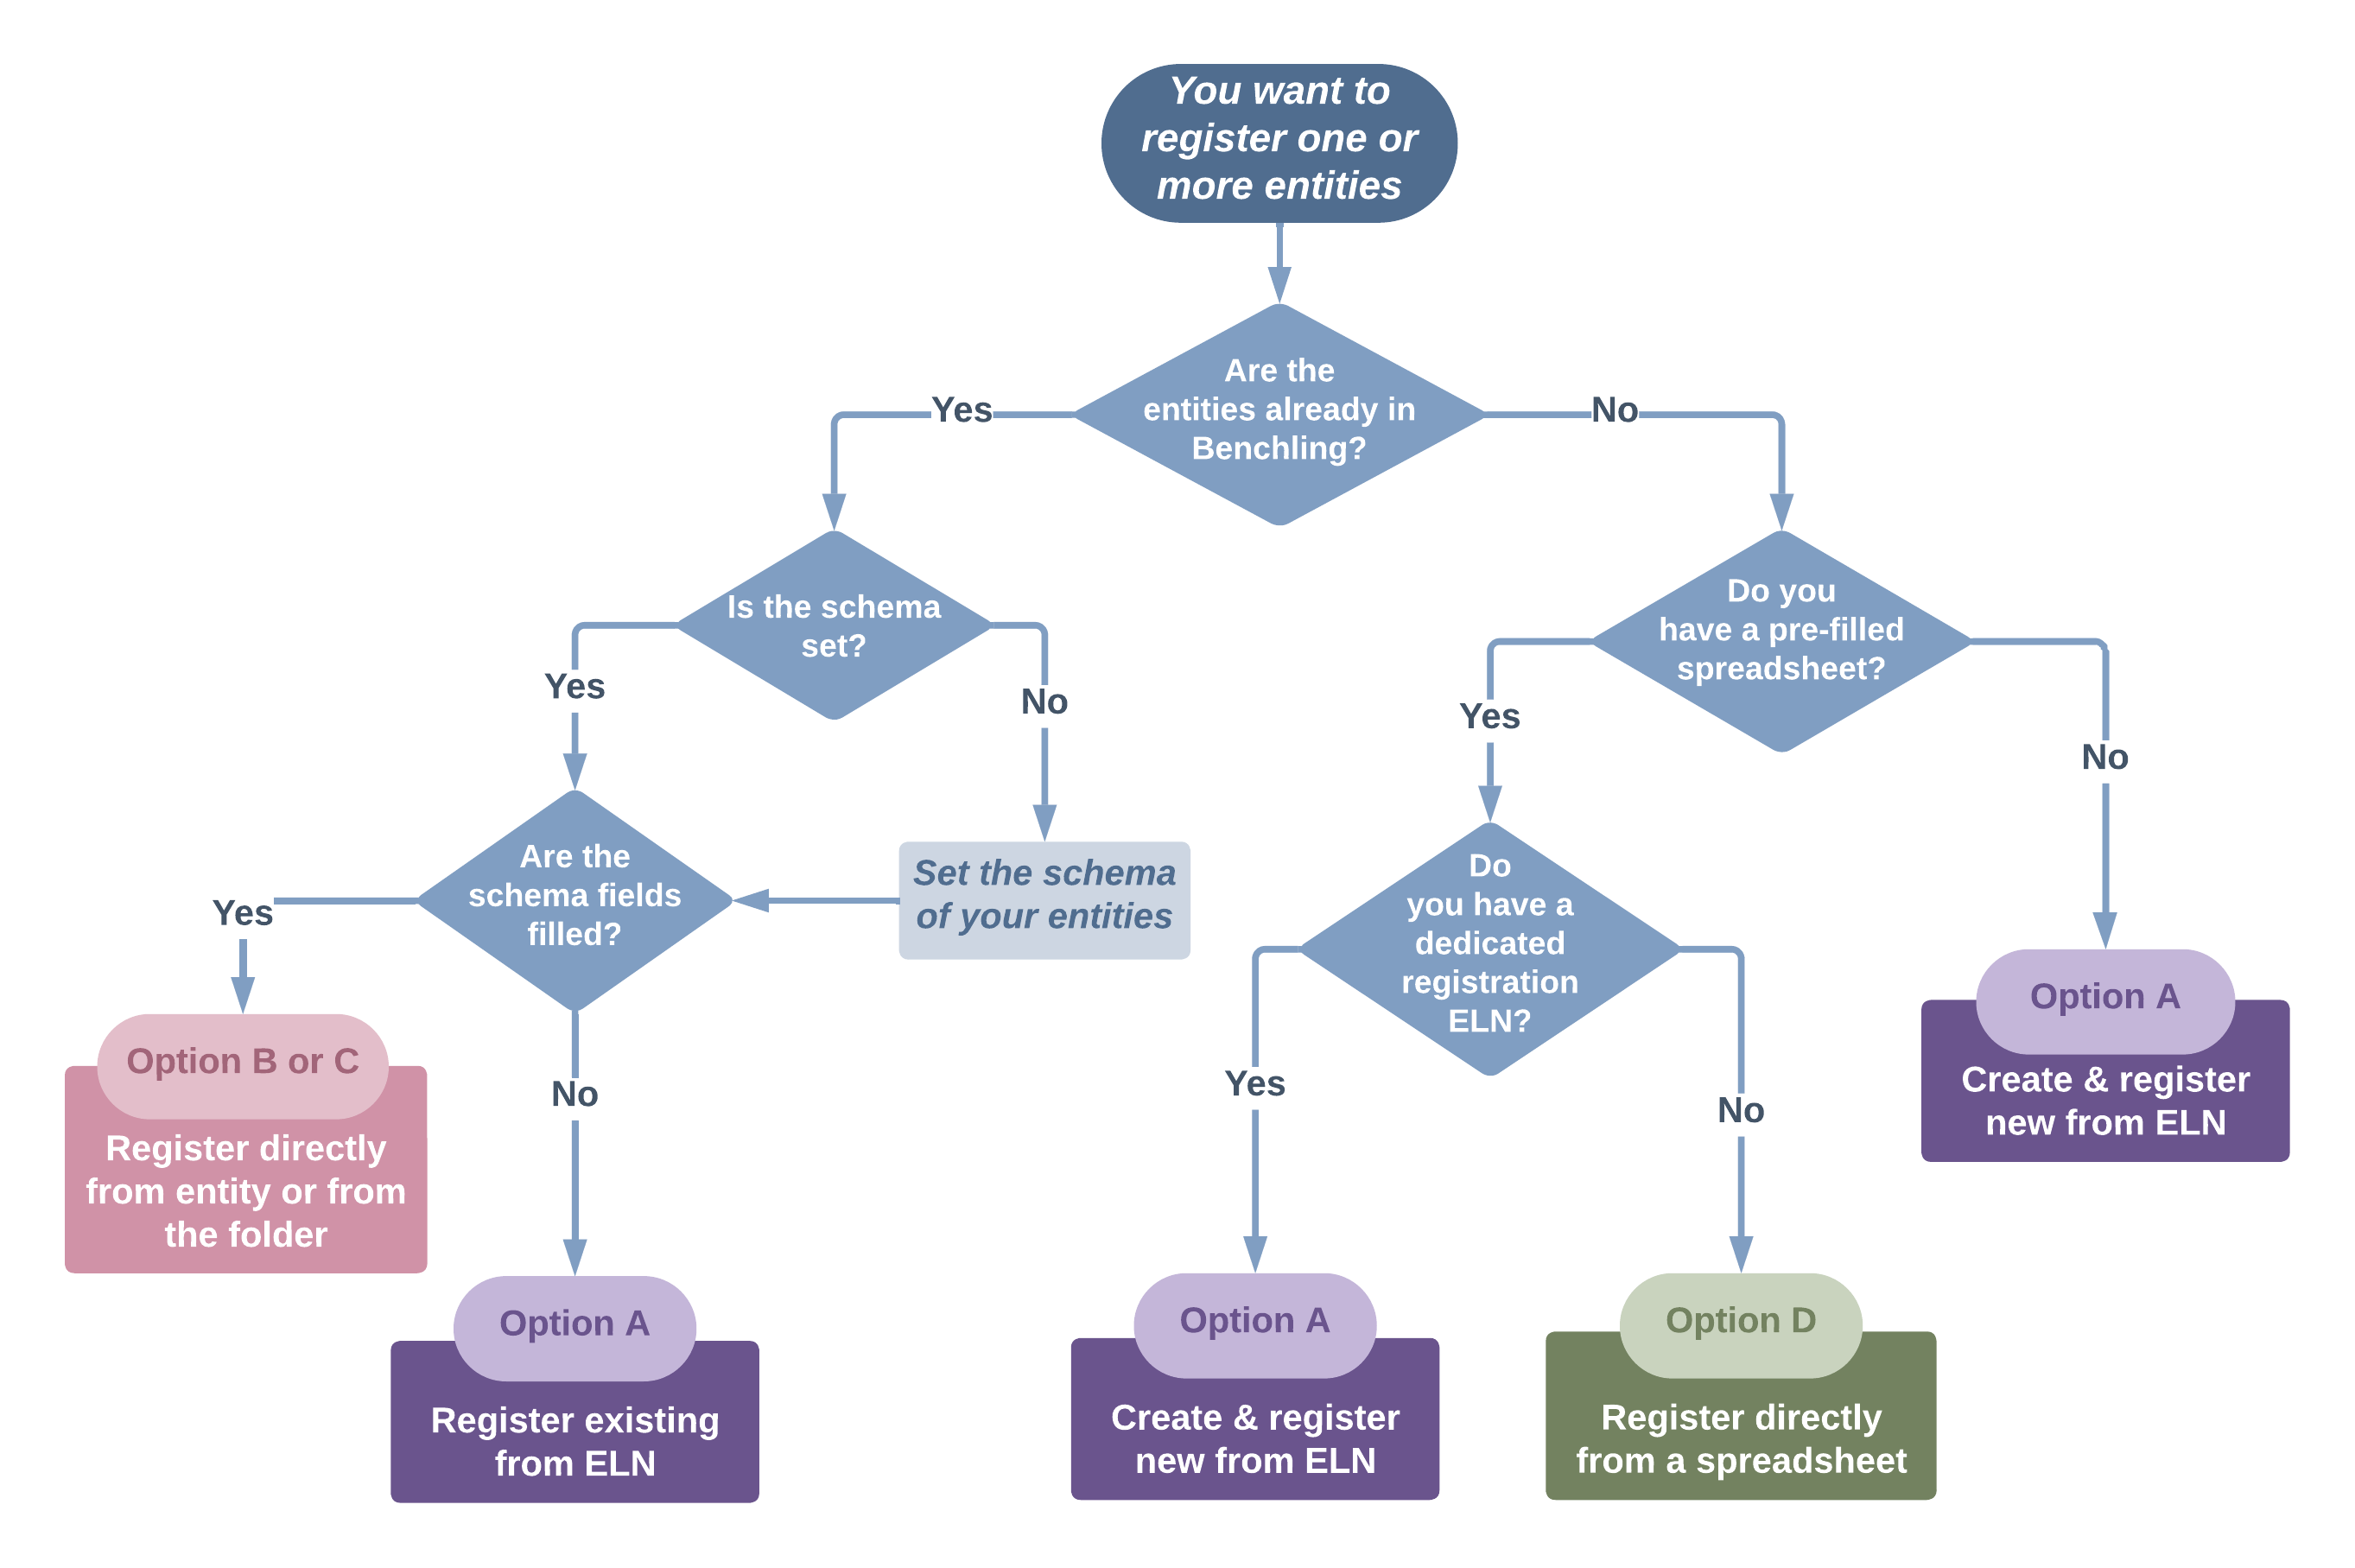
The choice of registration method depends on your particular needs.
Generally, it is recommended to use registration tables, which can be added to an ELN, because they are a convenient way to visualize and keep track of all registered entities and related metadata.
Nevertheless, if you’d like to explore different options, you can refer to the flowchart below to get some guidance on the recommended methods for different scenarios.

Caution
It is important to note that entities registered outside of registration tables cannot be updated via registration tables. For updating of these entities, it is necessary to go to their metadata tab individually, or to use bulk actions in the registry to modify larger amounts of registered entities.
A reminder: Set the schema!
Setting the schema of an entity is a crucial step which is always required for registration. If you create new entities in Benchling, such as DNA sequences, plasmids or primers, remember to set their schema! This can save you a lot of time later.
How to register…
a. From your ELN (with registration tables)
Note
If you’d like to familiarize yourself with a comprehensive start-to-finish example of registration and storage from an ELN, you can check out the article on Strain Registration.
The easiest and most traceable way of registering is from your own Notebook. You can create an ELN meant for all your registrations, or register entities by experiment or day.
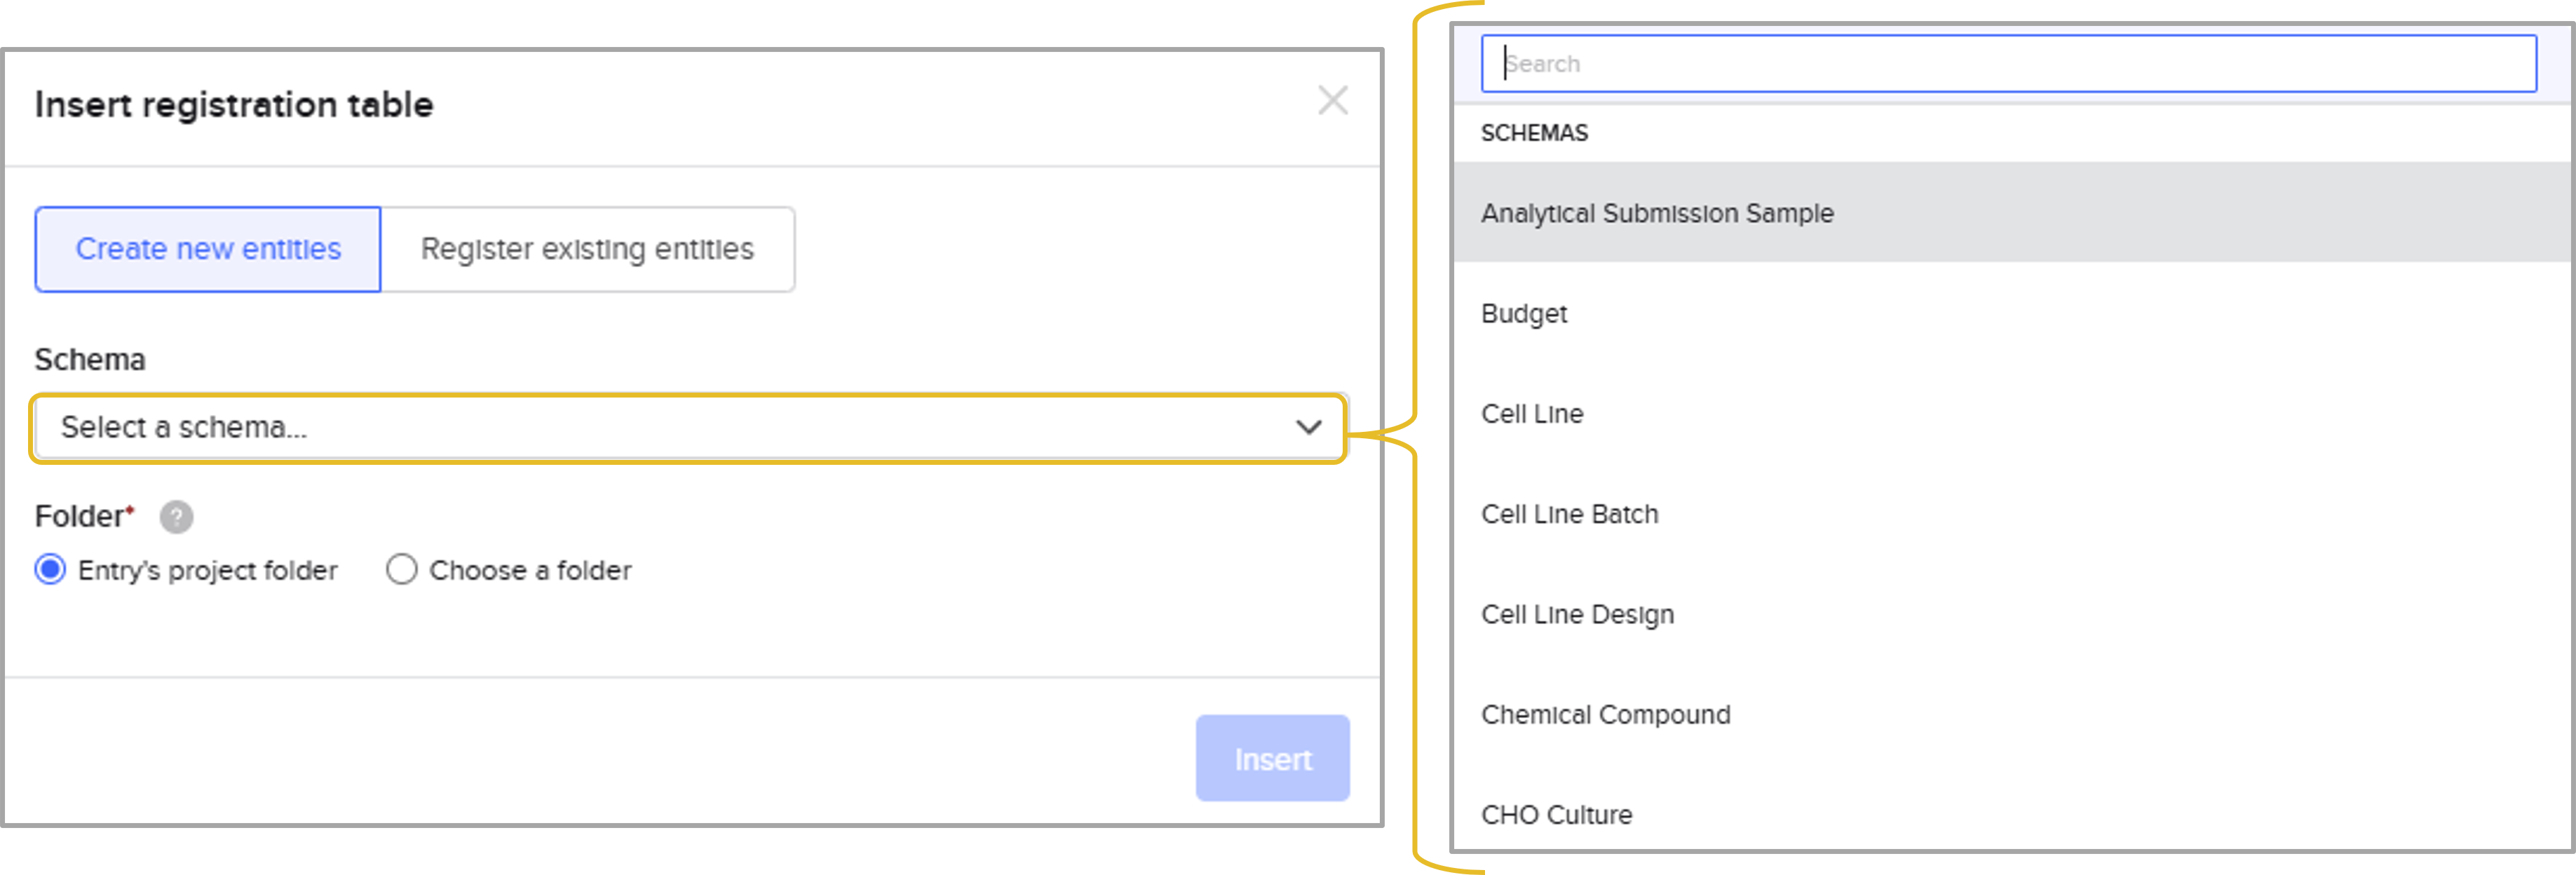
Insert a registration table
Your ELN > Insert > Registration table
You may choose to create new entities or register existing ones.
Note
To register an existing entity, its schema must be set correctly (eg. plasmid, DNA fragment, primer, etc.) You can do this from your entity file: Metadata > Schema
Registration tables are created by schema. If you’d like to register entities with different schemas, you will need multiple tables.

Fill in the fields that are relevant for your workflow
Some fields are mandatory, and many are optional. It’s recommended to fill in as much information as possible, so other users can know what the purpose of a given entity is.
Check for validation errors and submit You will be able to submit your entities to the registry once all required fields are full.

If there are any oversights, Benchling will indicate that there is a value error:

Caution
Value errors may occur after registration if an entity that is referenced in one of the fields is archived.
b. Directly from an entity
This option is mostly useful when working with only a few entities. For example, if you are designing a single plasmid, you might want to fill the relevant schema fields to avoid missing or forgetting about important information.
Click on the entity’s Metadata tab
Set the schema (if not done previously)
Fill in the schema fields
Register the entity
c. From your project folder
This option is similar to b), in the sense that it reduces the amount of clicks needed to register several pre-existing entities.
Open the expanded project view
Select the entities you want to register
Click the registration button
Recommendations
Create a structured ELN where you can keep track of your registrations.
This could be done for each big project or experiment. This way, you will be able to see all the entities you have generated and registered in a single place. Additionally, this can facilitate the storage process.
You can register from a table multiple times, without duplicating registries – only the changes and additions are uploaded.
If you have any question, don’t hesitate to contact us at lims_support@bright.dtu.dk.