Manage your strains in Benchling
🎯 This guide will show you how to:
register strains in Benchling
track strains storage location in the Benchling Inventory
The guide will illustrate how to do both of this actions directly from your Electronic Notebook entry.
⚠️ If you need to register an entire Strain Collection, we recommend you to follow this guide instead.
Before starting
During the strain registration process in Benchling, you will be asked to link your strains to relevant entities, e.g., the parent strain, the contained plasmid, the organism etc. Since these entities need to pre-exist in the system before linking them to your strains, we suggest you to register those beforehand. To learn how to create plasmids in Benchling, follow this guide.
Register your strains
Watch the following video to learn how to add new strains in Benchling directly from your Notebook entry.
Summary of the steps:
Open your Notebook (or create a new Notebook entry)
Registering Strains directly in the Notebook is the easiest way to register strains. You can create a new entry only devoted for strain registration, or use an existing entry where you took your experimental notes.
Benchling Navigation Bar > "Create (+)" > "Entry"
Insert a Registration table
“Insert” > “Registration table” > Select schema "Strain"
Fill in the metadata for each strain
There are some mandatory fields, the rest are optional. You can fill all the fields that are relevant to you.
→ The field “Organism” is mandatory, as it specify the species of your strain. If you cannot find the relevant organism for your strain, you need to create it yourself and save it in Benchling Common Inventory project:
“Insert” > “Registration table” > Select schema "Organism"
→ To assure tracking the lineage of your strain, it is reccomended to enter the Host strain or the Parent strain in the metadata. This is the main difference between the two fields:
Field
Definition
Host strain
A well-characterized microbial strain, like E. coli BL21, used as the baseline for genetic manipulation or protein expression.
Parent strain
A genetically modified derivative of the host strain that serves as the starting point for further modifications.
Click on “Submit”!
If there is any issue with the registration, the side of the table will be red, and you will get an error message.
If there are no validation errors, you can click “Submit”. Your strains are now registered!
→ You can use the same registration table to register new strains by adding new rows to the table, and to edit metadata, if you made a mistake. To save the changes, click again on “Submit”.
Edit table > Click "Submit"
Track strains storage location
Watch the following video to learn how to track the storage location of your newly created strains directly from your Notebook.
Summary of the steps:
Insert the “Strain storage” sub-template
"Insert" > "Sub-Template" > "LIMS Support" > "Strain Storage"
Fill-in and submit each registration table
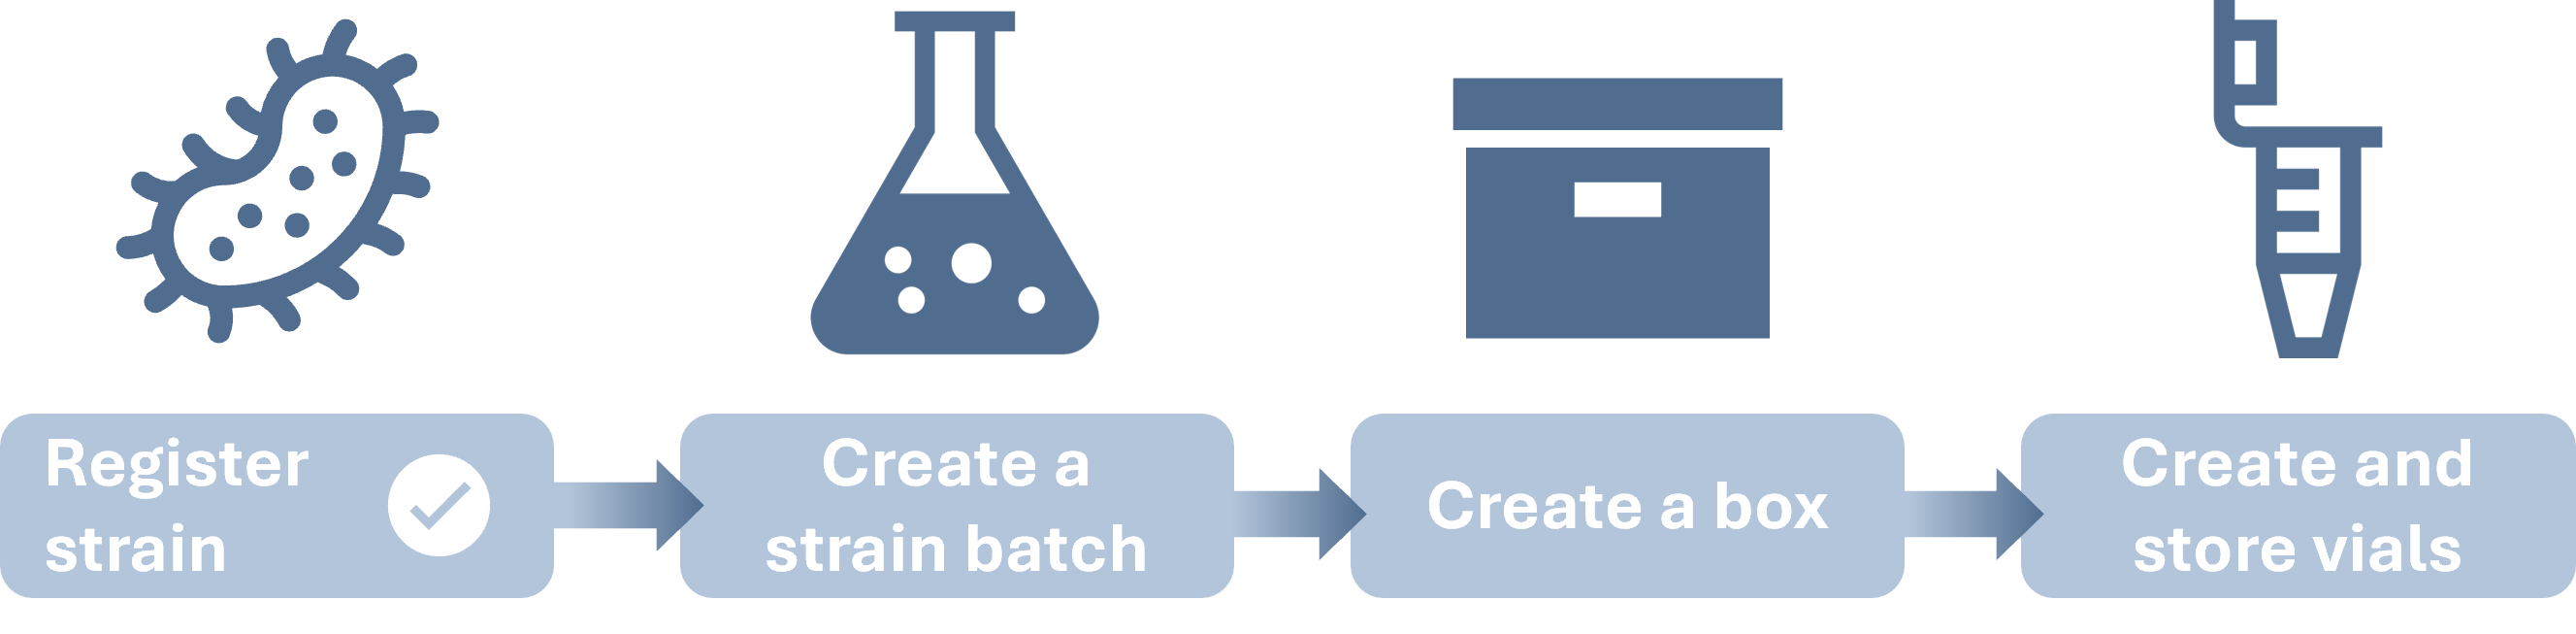
Three tables are needed to successfully store your strain(s):
Strain batch registration
Allows you to create entities representing a physical batch of a strain. You can have multiple batches for a single strain.
Box/Plate creation
Allows you to generate a new, empty box in your preferred location (e.g., a Freezer)
Container creation
Allows you to move your newly generated batched to the correct container in a Box or a Plate.
Can I register strains using a spreadsheet?
Yes, you can register strains also by uploading a spreadsheet onto a strain registration table. Watch the video to learn how:
Summary of the steps:
Insert a Registration table in your Notebook
“Insert” > “Registration table” > Select schema "Strain"
Populate table from your spreadsheet
Registration table > "Add (+) > "Add from spreadsheet"
In order to use this registration method, your spreadsheet must have columns corresponding to some or all of the required fields.
You can use the following excel template to make sure that the spreasheet columns correspond to the columns of the Registration table:
Strain_Template_YourName.xlsx.Red fields are mandatory
Blue fields refer to pre-existing Benchling entities
Caution
Benchling will try to match the entities names that you added in the blue fields to existing entities in the Benchling registry. Make sure to insert the exact Benchling name, or the Benchling ID of the entity you are trying to link to your strain.
Click on “Submit”!
If you have any question, don’t hesitate to contact us at lims_support@bright.dtu.dk.